Zano is a privacy-focused, secure cryptocurrency designed for everyday transactions with enhanced protection against blockchain analysis. As the popularity of Zano grows, more users are looking to get involved in mining to earn rewards. Mining Zano not only supports the network but also provides an opportunity to earn Zano coins using your GPU.
In this guide, we’ll walk you through the entire process of mining Zano, from setting up a wallet to choosing the right mining pool and software. Whether you’re a beginner or an experienced miner, this step-by-step guide will help you get started and maximize your mining profits.
By following the instructions in this guide, you’ll be able to mine Zano efficiently and securely, join mining pools optimized for your location, and even explore staking opportunities for additional earnings. Let’s dive in and start your Zano mining journey!
Table of Contents
ProgPowZ – Zano Mining Algorithm
Zano uses the ProgPowZ mining algorithm, which is designed to be GPU-friendly and resistant to ASIC domination, ensuring a decentralized mining ecosystem. This algorithm is highly efficient for both Nvidia and AMD GPUs, making it accessible for a wide range of miners.
ProgPowZ is quite similar to the KawPow algorithm used by Ravencoin, which also prioritizes decentralized mining and GPU compatibility.
Video Guide
For a more detailed and visual walkthrough, check out our YouTube video guide on how to mine Zano. We cover everything from setting up your wallet to configuring your miner, making it easy for you to get started.
Step 1: Prepare Your Mining Setup

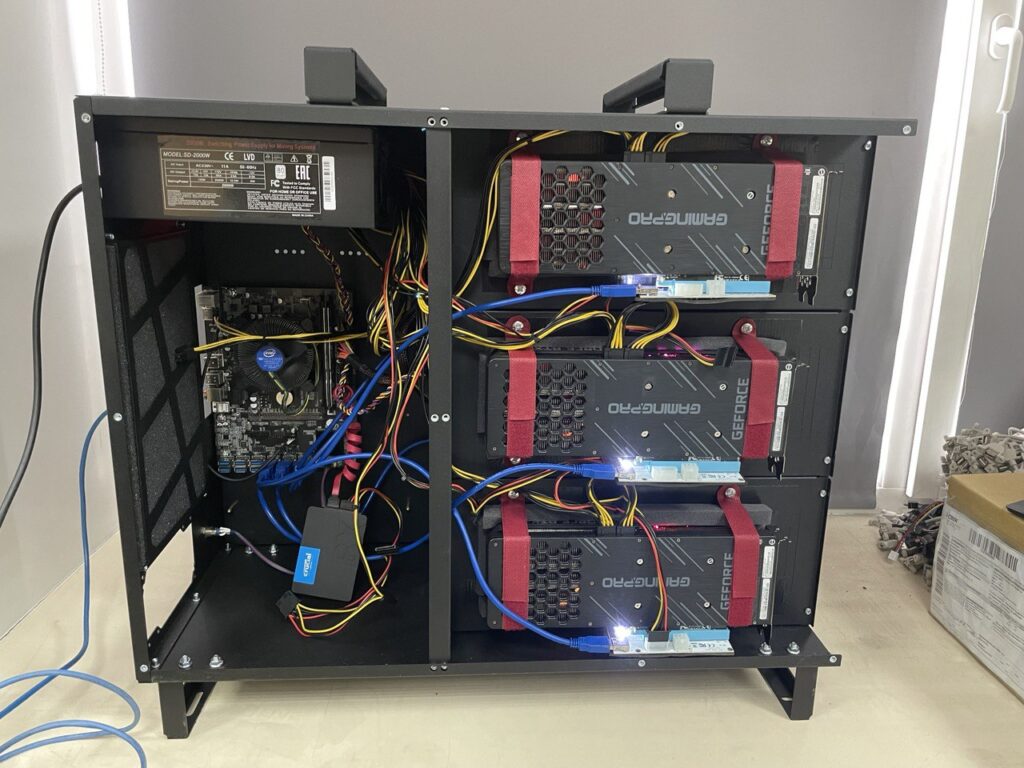
Before you begin mining Zano, ensure you have the following:
- A GPU (Nvidia or AMD) for mining
- Access to a mining pool
- A Zano wallet to store your earnings
- Mining software compatible with your GPU
Step 2: Download and Install a Zano Wallet
Before mining, you’ll need a wallet to store the Zano coins you mine. You can use one of the following trusted wallets:
- Cake Wallet: Download here
- Bitcoin.com Wallet: Download here
Follow the instructions to install and set up your wallet. After installation, create a Zano address, which will be used to receive mining rewards.
Step 3: Choose a Mining Pool

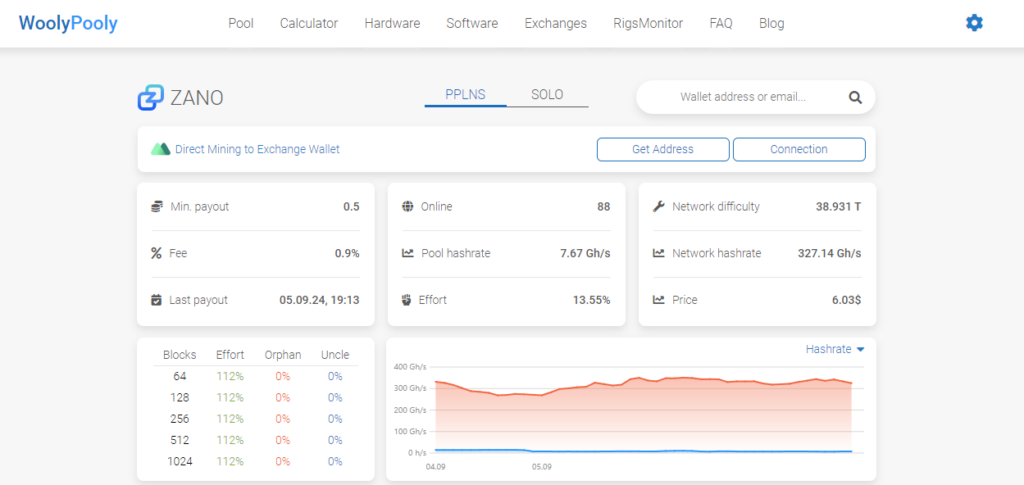
Mining pools allow miners to combine their computational power to solve blocks more efficiently and share the rewards. Woolypooly offers multiple servers across different regions to optimize performance based on your location. Choose the one closest to you for the best performance:
- Auto Geo:
pool.woolypooly.com:3146 - Europe:
pool.eu.woolypooly.com:3146 - USA:
pool.us.woolypooly.com:3146 - Singapore:
pool.sg.woolypooly.com:3146 - Hong Kong:
pool.zh.woolypooly.com:3146 - Turkey:
pool.tr.woolypooly.com:3146 - Brazil:
pool.br.woolypooly.com:3146
For enhanced security, you can also use SSL ports (3147) for secure connections.
Step 4: Download Mining Software
Depending on your GPU (Nvidia or AMD), you’ll need to download and install mining software. Woolypooly recommends the following:
- Trex Miner (for Nvidia GPUs): Download here
- SRBMiner (for AMD GPUs): Download here
Make sure to choose the correct version for your system (Windows or Linux) and follow the instructions to install the software.
Step 5: Configure Your Miner
Once you have the mining software installed, you’ll need to configure it to mine Zano. Here’s a sample configuration for Trex (Nvidia) and SRBMiner (AMD).
Trex Miner Configuration (Nvidia):
Create a .bat file with the following content:
t-rex.exe -a progpowz -o stratum+tcp://pool.woolypooly.com:3146 -u YOUR_WALLET_ADDRESS -p x
Replace YOUR_WALLET_ADDRESS with your actual Zano wallet address.
SRBMiner Configuration (AMD):
Create a .bat file with the following content:
SRBMiner-MULTI.exe --algorithm progpowz --pool pool.woolypooly.com:3146 --wallet YOUR_WALLET_ADDRESS --disable-cpu
Again, replace YOUR_WALLET_ADDRESS with your Zano wallet address.
Step 6: Start Mining
Once your configuration is set up, simply run the .bat file you created, and the miner will start mining Zano and sending rewards to your wallet. Monitor your hash rate and earnings using Woolypooly’s dashboard.
Step 7: Withdraw and Exchange Zano

After accumulating Zano coins, you can either hold them in your wallet or exchange them for other cryptocurrencies. Here are some exchanges where Zano is listed:
- Mexc: Register here
- Coinex: Register here
Step 8: Increase Earnings Through Staking
In addition to mining, you can earn more Zano by participating in Proof of Stake (POS). Staking allows you to earn rewards by locking your Zano coins for a period. For more details on staking Zano, visit the official Zano staking guide: Proof of Stake Mining.
Conclusion
Mining Zano is a rewarding way to contribute to the network while earning Zano coins. By following this guide, you now have the tools to set up your wallet, choose the right mining pool, configure your GPU, and optimize your mining efforts using the ProgPowZ algorithm. Whether you’re a novice or an experienced miner, Zano’s unique blend of Proof of Work and Proof of Stake offers flexibility and the potential for increased earnings through staking.
Happy mining!


